If you’ve ever thought about making your car look cooler and keeping it more comfortable, tinting your windows is a great option. Tinting means adding a special film to your car’s windows that can block sunlight and heat. This not only helps keep your car’s interior from getting too hot but also protects your skin from harmful UV rays. Plus, tinted windows can give your car a smart and stylish look.
Many people wonder how to tint their car windows. The good news is that you can either do it yourself or hire a professional to do it for you. It might seem like a complicated task, but with the right tools and a little patience, you can do it yourself. If you choose to do it yourself, there are kits available that come with everything you need. However, if you’re not confident in your skills, going to a professional might be the best choice. They have the experience and tools to ensure the job is done right.
Before you start, it’s important to know the laws about window tinting in your area. Different places have different rules about how dark the tint can be and which windows can be tinted. Once you’re clear on the laws, you can enjoy the benefits of tinted windows, like better privacy and a cooler ride. By the end, you’ll feel confident enough to tint your car windows like a pro. Let’s dive in!
What is Car Window Tinting?
At its core, car window tinting means putting a special film or sunglass on your car’s windows. It’s a thin, dark film applied to the inside of the windows. This film can be clear or tinted, depending on what you want to achieve.
The primary aim is to reduce the amount of light and heat that comes into the car, making it more comfortable to drive, especially on sunny days.
Why Do People Tint Their Car Windows?
There are several reasons why people choose to tint their car windows. Before jumping into the steps, let’s talk about why tinting is worth it.
Imagine sitting in your car on a sunny day, feeling relaxed instead of sweating under the scorching heat. That’s the magic of window tinting! Plus, it protects your car’s interior from fading and cracking, making it last longer.
Comfort
Tinted windows help keep the interior cooler by blocking out sunlight. This means you won’t have to rely as much on air conditioning, which can save fuel.
Protection From UV
High-quality window tints can block over 99% of harmful UV rays. This is important because these rays can cause skin damage and fade the interior materials of your car.

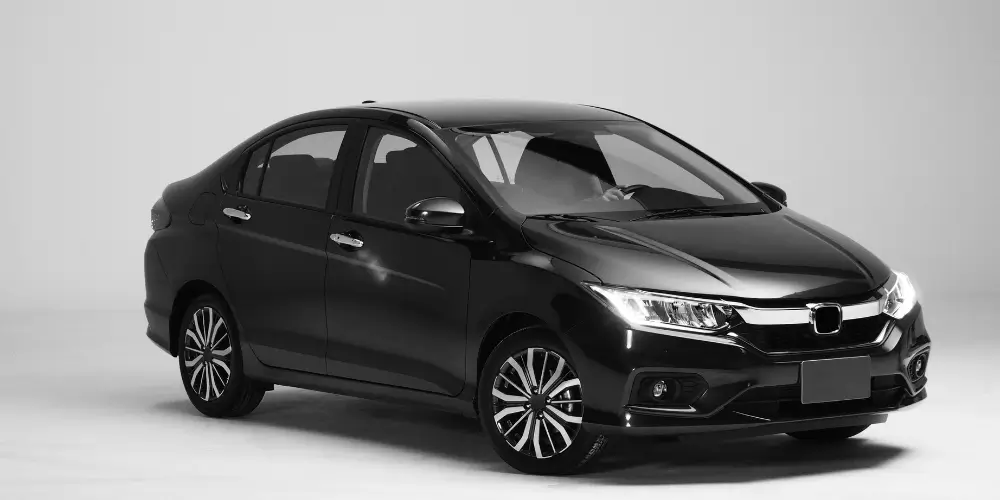
Privacy
Tinted windows provide greater privacy for passengers and belongings inside the car. This can also make it harder for potential thieves to see valuables left in the vehicle.
Reduced Glare
Tints help minimize the glow from the sun and headlights from other cars, improving visibility and making driving safer.
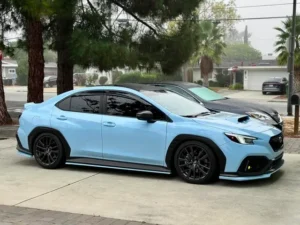
Aesthetic Attraction
Many people simply like how tinted windows look. They can deliver your vehicle a trendy, stylish impression.
Tips For Choosing the Best Car Window Tint
Choosing the right car window tint can be a bit overwhelming, but it doesn’t have to be! Let’s break it down into simple steps to help you find the best option for your needs.

Understand Your Needs
First, think about it about your requirements:
-
- Why Do You Want to Tint Your Car Window?
-
- Do you want to simply keep your car cooler?
-
- Are you looking for privacy, and protection from UV rays?
Knowing your main reason will guide your choice.
Types of Window Tint
There are several types of window tints, each with its own advantages and disadvantages:
Dyed Tint
This is often the most affordable option and provides good privacy. However, it may fade over time and doesn’t block as much heat.
Metalized Tint
This type reflects heat and UV rays effectively but can interfere with electronic signals like GPS.
Offers a matte finish that doesn’t fade and provides excellent heat reduction without signal interference.
Ceramic Tint
Ceramic film is known for its high quality, it blocks UV rays and heat while maintaining visibility. It’s more expensive but offers the best protection.
Hybrid Tint
Combines dyed and metalized films, balancing cost and performance.
Pick one that fits your budget and needs.
Consider Local Laws
Before making a decision, check your local laws regarding window tinting. Different places have rules about how dark or reflective your tint can be. This is important to avoid fines or having to remove the tint later.
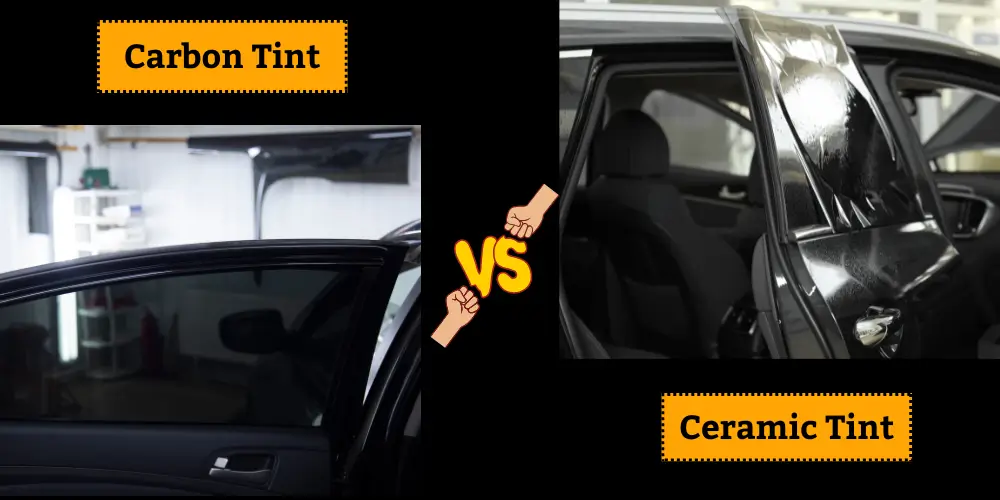
Weather
Your local weather can influence your choice. If you live in a hot area, consider a ceramic or carbon tint for better heat reduction. In cooler climates, a dyed tint might be sufficient.
Safety and Visibility
Make sure the tint you choose doesn’t restrict your visibility, especially at night. A lighter tint can provide some privacy while securing safe driving conditions after dark.
Budget Considerations
Decide how much you’re willing to spend. While high-quality tints like ceramic offer great benefits, they come at a higher price. If you’re on a budget, dyed or hybrid tints might be better options.

Installation Options
Finally, decide whether you want to install the tint yourself or hire a professional. Professional installation often ensures better results and a long life span for your tint.
Warranty
Good tints often come with a warranty. It’s a sign of quality and gives you peace of mind.
Tools For Tint Car Windows
To effectively tint car windows, several essential tools are required to secure a successful and professional-looking application.
Below is a comprehensive list of the necessary tools along with their functions.
Window Tint Film
The primary material used for tinting. Available in various shades and types, such as carbon or ceramic.
Squeegee
A handled squeegee is crucial for applying the tint smoothly and removing air bubbles. It helps in sticking the film to the glass without wrinkles.
Utility Knife or Razor Blade
Used for cutting the tint film to the appropriate size before application. A stainless steel blade is recommended for safety when cutting glass.
Spray Bottle
A spray bottle filled with application fluid (usually a mixture of water and soap) is essential for wetting the window surface before applying the tint, making it easier to position the film.
Tri-Edge Tool
This tool helps in reaching corners and edges during installation, ensuring a tight fit against the window frame.
Glass Cleaner & Microfiber Cloth
Removes dirt, grease, and grime from the window surface. Fiber cloth ensures a defect-free and spotless finish.
Process of Tint Car Windows
Window tinting is a popular way to improve your automobile comfort and formation. Don’t worry if you’ve never done this before.
I’ll make it simple and easy to follow. Let me break down the process in simple terms. So, let’s dive into how you can tint your car windows and make your driving experience even better!
Preparation of Window For Tint
Before doing anything else, the car windows need to be spotless. The technician will clean the outside of your car windows thoroughly. This step is crucial because any dirt or dust can prevent the tint film from sticking properly.
Measuring & Cut Window Tint
Next, a piece of tint film is cut to fit your specific windows. The tint film comes in big rolls. To fit your car’s windows perfectly, the installer measures each window and cuts the film to size. They often leave a little extra room, just in case adjustments are needed.
Sometimes, it’s done by placing an oversized sheet on the outside of the window and trimming it down to size. Other times, a machine can cut it precisely for a perfect fit.
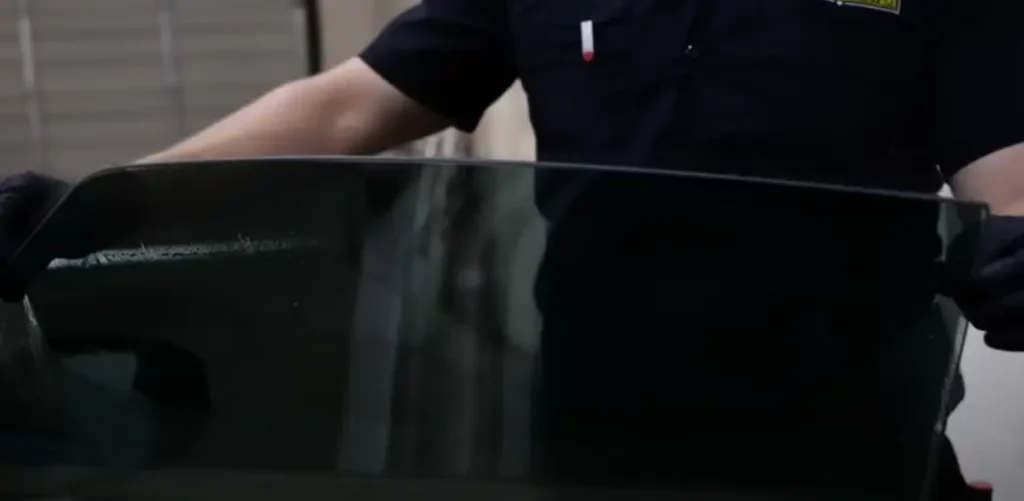
Shaping the Film
To ensure that the film fits well on the curved surfaces of your windows, it is heated slightly. This makes it more flexible and helps eliminate wrinkles.

Since car windows are curved, the film needs to be shaped to fit smoothly. The installer uses a heat gun to soften the film and a squeegee to mold it to the window’s shape
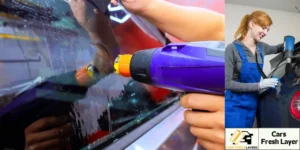
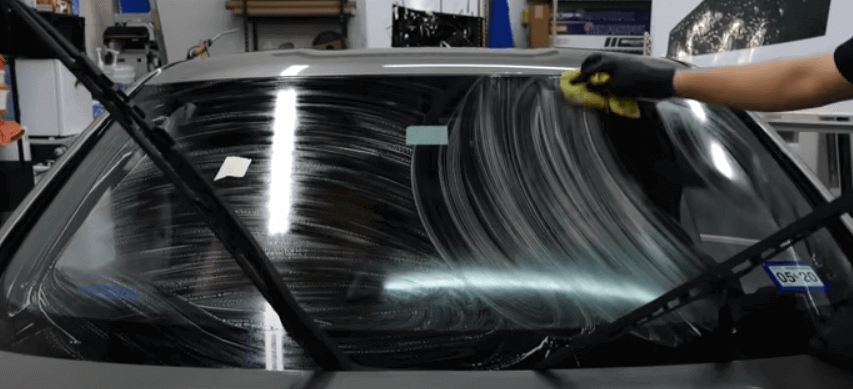
Apply Tint On the Car Window
Now comes the exciting part! The installer sprays a soapy solution on the window and the adhesive side of the tint film, which helps position the film correctly. Then, they carefully place the film on the glass, securing it aligns perfectly.
This makes it easier to position the film correctly on the window. Once it’s in place, they use a tool called a squeegee to push out any air bubbles and excess water.
Remove Air Bubbles
No one wants bubbles under their tint, right? The installer uses a squeegee to press out any air pockets or excess water. This step confirms the tint looks smooth and professional.
Final Trim and Inspection
Finally, the edges are trimmed for a perfect fit. The installer checks everything to make sure the tint looks flawless and adheres properly.
After applying the film, a final check is done to make sure everything looks good and there are no imperfections. If needed, adjustments are made to ensure a perfect finish
Curing Time
Once everything is installed, you’ll need to wait before rolling down your windows usually about 3 days. This waiting period allows the adhesive to set properly. During this time, you might see some small bubbles or haziness; don’t worry this is normal and will disappear as it dries completely.
That’s it! Tinting car windows isn’t complicated, but it does require skill and precision. If you’re doing it yourself, take your time. If you’re hiring a pro, now you know what to expect!
When to Replace Your Window Tint?
When it comes to window tints on your car, knowing when to replace them is important for both safety and comfort.
Here are some simple signs that can help you decide if it’s time for a new tint:
- If your window tint looks dull or changes color, it may need replacing, as faded tints are less effective at blocking UV rays.
- If you notice any bubbles or peeling edges indicates adhesive breakdown and can affect visibility, requiring a full replacement.
- If the tint causes poor visibility, especially at night or in rain, it may be worn out and need replacing.
- If your car feels hotter than usual inside despite tinted windows suggests the tint has lost its heat-blocking effectiveness.
- Sometimes, old tints may no longer meet legal standards, so it’s wise to replace them to avoid fines.
Watch for these signs to confirm a safe driving experience. If you notice any issues with your tint, consult a professional for replacement options.
Is Car Window Tinting a Good Idea?
Car window tinting is a great idea for several reasons. First, it helps reduce glare from the sun, making driving safer and more comfortable. It also blocks harmful UV rays, protecting you and your passengers from skin damage.
Additionally, tinted windows keep your car cooler on hot days, which can save on fuel costs since you won’t need to run the air conditioner as much. Tinted windows also protect your car’s interior from fading and damage and add privacy.
Overall, car window tinting is a smart investment that improves the comfort, safety, and longevity of your vehicle.
Tips to Take Care of Window Tint
There are a few tips to take care of your window tint:
-
- Wait a few days before cleaning newly tinted windows to let the adhesive set. Any haziness or water pockets will clear as it dries.
-
- After waiting, clean tinted windows with a mild, ammonia-free cleaner and a soft cloth or squeegee. Avoid ammonia-based products and clean in the shade to prevent streaks
-
- Use soft materials like microfiber cloths to clean tinted windows without scratching. Avoid paper towels, steel wool, or rough sponges. For stubborn spots, gently wipe with a damp cloth.
-
- Clean your tinted windows monthly to prevent dirt buildup that can loosen the tint. If you have kids or pets, clean more often.
-
- Keep car windows rolled up for a few days after tinting to avoid peeling. Handle sharp objects carefully, as they can scratch the tint. Regularly check for scratches or bubbles and address issues promptly.