If you’re searching for “How to Remove Window Tint,” chances are you’re dealing with old or damaged tint. Maybe it’s peeling, bubbling, or fading, making your car look worn out. It could even affect your visibility while driving. Over time, tint can break down, and many drivers want to restore a clear, clean look to their windows.
Another common reason people want to remove window tint is because of legal issues. Some places have strict laws about how dark your tint can be. If your car doesn’t pass inspection or the tint is too dark, it might be time to take it off. Or, maybe you just want to change the style and go with a new shade or finish that fits your taste better.
If you’re thinking about removing tint yourself, you’re probably worried about damaging your car. You don’t want to scratch the glass or leave behind sticky adhesive. It’s natural to want a DIY method that’s safe and effective. Plus, doing it yourself can save money compared to hiring a professional. Whether you’re selling the car or just want a fresh look, the key is finding a method that gets the job done right.
Table of Contents
ToggleHow to Remove Window Tint: An Overview
Faded and peeled tint harms your car’s windows. We’ve put together a simple and friendly guide to help you remove window tint with ease.
Firstly, why would someone want to remove their car’s window tint? There could be multiple reasons, such as wanting a new look or having an expired or illegal tint. Whatever the reason may be, removing it can seem like a difficult task. But with the right tools and techniques, you can easily do it yourself at home.
Remove Window Tint Step-By-Step Guide:
So let’s get started! Here are the steps on how to remove window tint:
Step 1: Gather the Necessary Tools and Materials
- Hair dryer or heat gun
- Razor blade or utility knife (with a soft touch)
- Microfiber cloths
- Ammonia or soapy water
- Spray bottle
- Face Mask
- Safety Gloves
- Safety Glasses
- Plastic scraper or credit card (to prevent scratching)
- Glass cleaner
Preparing the Area
Start by laying a towel down on your back deck. Use an old or non-special towel, as this can get messy. Ensure proper ventilation and cover any areas of the vehicle interior that may be exposed to water or chemicals.
Roll Window Down
If the top of the window isn’t exposed. Before you start, just roll the window down a bit so you can reach the edges of the tint.
Grab Your Steamer
If the Windex and trash bag didn’t loosen the tint enough, carefully use a handheld steamer to soften the adhesive while you peel the tint. This method also helps protect the defroster lines from damage.
Heating the Film
Spray Windex onto the window tint and press a black trash bag against the glass so it adheres. Let it sit in the sun for 15-30 minutes to help soften the adhesive.
Alternatively, you can use a hair dryer or heat gun to warm the film. Heating film with a steamer or other heat source, like a heat gun or hair dryer, to soften the adhesive before removal.
Peel Off the Window Tint Slowly
Apply steady pressure but be careful not to rip the film. Once the adhesive is loosened, gently peel off the tint, starting from the edges.
If the tint starts powdering, support it with duct tape to remove it in larger sections. In some cases, the film may not come off in one piece.
Remove Any Adhesive Residue
Removing adhesive can be tricky, especially in tight spots. For any leftover adhesive, spray LA’s Totally Awesome cleaner and scrub it with Scotch scrubber pads.
A mixture of half ammonia and half water sprayed on the adhesive, left to sit for a few seconds, and then scraped off works well.
Some users suggest products like Awesome from the dollar store, or using a blue Scotch-Brite pad for cleaning.
Clean the Window
If the film is removed and only glue remains, you can use fine steel wool without causing damage. However, if a blade is required, it may be irreparable.
After removing the adhesive, clean the window with isopropyl alcohol (90% or higher) to get rid of any residue and ensure a clear, streak-free surface. Once the adhesive is removed, clean the window thoroughly using a glass cleaner.
Optional: Professional Tint Removal
Some professionals use ammonia water to bag the rear window, and in most cases, this method works. However, on rare occasions, they may need to use razors, which could damage the defrosters.
If you’re uncertain about the process or worried about damaging the windows, consider professional tint removal.
Alternate Window Tint Removal Methods
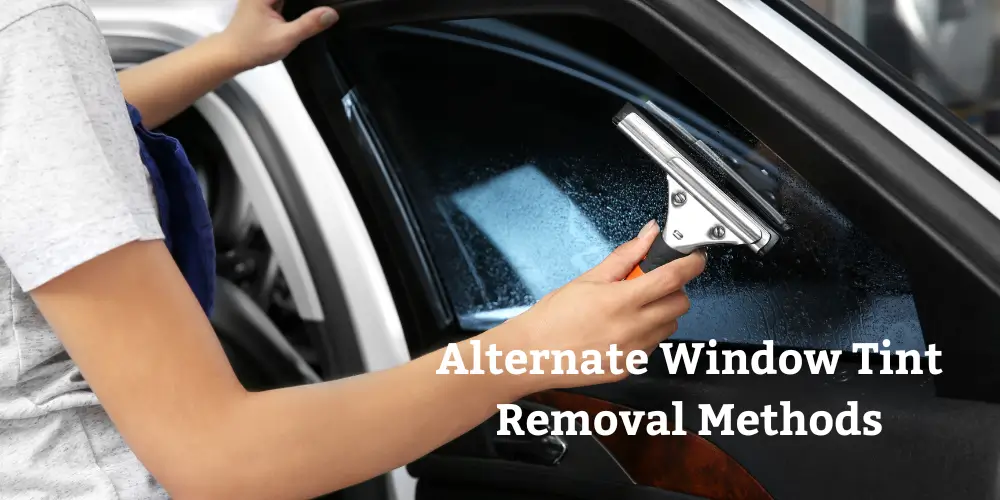
Heat Gun / Hair Dryer
Use one of these tools to heat the tint and loosen the adhesive for easier removal.
Ammonia Solution
You can spray an ammonia solution on the tint to help break down the adhesive.
Razor Blade
A razor blade is used to remove any stubborn particles from the glass. Start at an accessible area, preferably the corner, and gently slide the razor blade under the tint.
While effective, be cautious, as using a razor blade may damage the window, especially near defroster lines.
Site Kit
Avoid cutting through the film to keep large sections intact for easier removal.
Reasons to Remove Window Tint
Window tinting can improve the look of your automobile. However, different situations may require its removal. Below are the main reasons why you might consider taking off your window tint.
Removing window tint can be necessary for various reasons. From legal submission to aesthetic choices, each situation is unique.
Legal Compliance
First, check local laws about window tinting. Many states have laws on tint darkness. If your tint is too dark, you may face fines. Thus, removing it ensures your vehicle remains law-abiding.
Damaged Tint
Next, consider the condition of your tint. Over time, tint can peel, bubble, or fade. These issues not only look bad but can also decrease visibility. Therefore, removing damaged tint helps maintain your vehicle’s appearance.
Aesthetic Preferences
Your style might change over time. What looked good a few years ago may not fit your taste now. If you prefer a clearer look, removing the tint can give your car a fresh appearance.
Visibility Issues
Poor visibility can pose a safety risk. If your tint is too dark, it may hinder your view, especially at night. Removing it can improve safety and improve your driving experience.
Heat and UV Protection
High-quality window tints can block UV rays and heat. If your current tint is ineffective, it’s time to replace it. By removing the old tint, you can install a product that offers better protection.

Resale Value
If you plan to sell your vehicle, consider removing the tint. Many buyers prefer clear windows. This choice can make your vehicle more attractive and potentially increase its resale value.
Change in Ownership
New car owners often want to personalize their vehicles. If you buy a used car with tinted windows, consider removing the tint. This step allows you to start fresh with your preferences.
Vehicle Maintenance
Old tint can lead to maintenance issues. It may leave residue on your windows or cause scratches. Removing the tint helps protect your vehicle and makes maintenance easier.
Professional Application
Not all window tints are created equal. If your tint was poorly applied, it may look unappealing. Removing it allows you to reapply a high-quality product that meets your expectations.
Tips for Safe Tint Removal
Car windows are tinted for privacy, style, safety, or UV protection.
Here are some tips for safely removing window tint from a car:
1. Prepare the Right Tools
- To soften the adhesive for easier removal.
- To gently peel the tint film without scratching the glass.
- Use ammonia or soapy water
- To break down the adhesive.
- Microfiber cloth for cleaning up residue.
- Protective gloves and masks, especially when using ammonia.
2. Use Heat for Easy Removal
Apply heat with a gun. Move the heat gun in small circles to avoid concentrated heat that could damage the glass or interior.
3. Start Peeling Slowly
Use your fingernail or a plastic scraper to gently lift the edge. Gently pull the film at a 45-degree angle to prevent tearing and leaving pieces stuck behind.
4. Use Ammonia or Soapy Water
Spray ammonia or soapy water onto the window after peeling the film.
Cover the window with a plastic bag to keep the solution from evaporating too quickly, and let it sit for about 30 minutes.
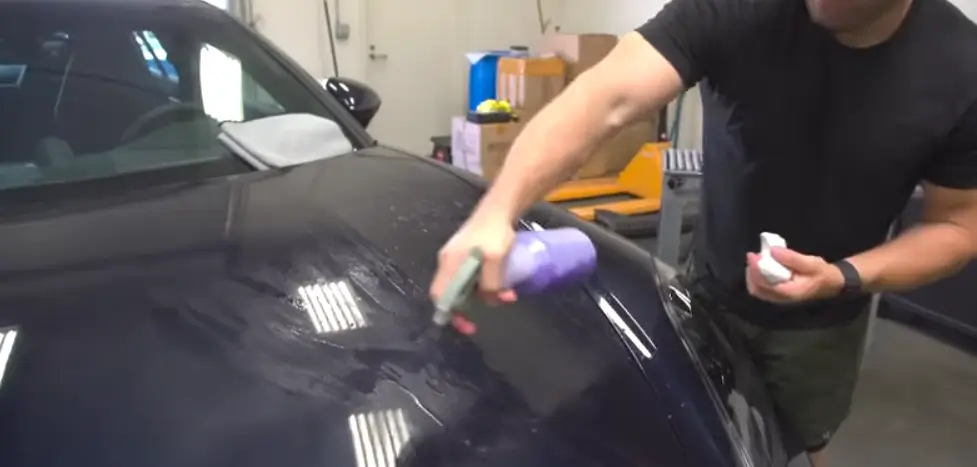
5. Scrape Off Adhesive Residue
Use a plastic scraper or razor blade to gently remove the residue. Keep the glass wet to prevent scratching.
Be extra careful on rear windows to avoid damaging the defroster lines.
6. Clean the Window
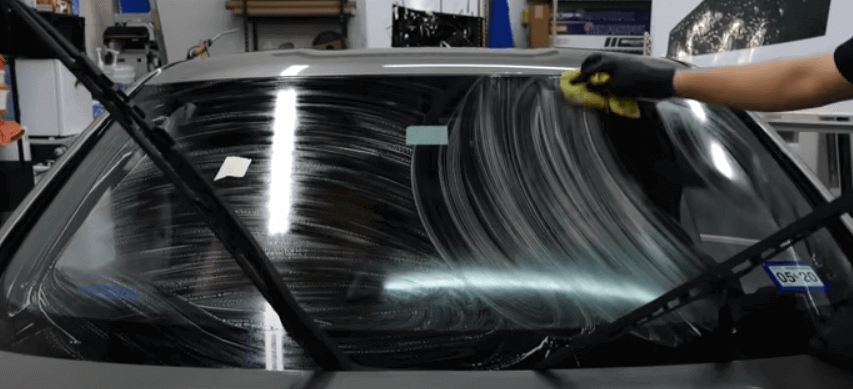
Wipe down the window with a microfiber cloth and glass cleaner to remove any leftover adhesive or streaks. Ensure the window is completely clean before applying new tint, if necessary.
7. Work in a Well-Ventilated Area
If using ammonia, make sure to work in an open or ventilated space to avoid inhaling fumes.
8. Avoid Direct Sunlight
Remove it in the shade or indoors. Heat from direct sunlight can dry out the cleaning solution too quickly and make adhesive removal harder.
Following these steps will help ensure a clean and scratch-free window tint removal!
Tint Removal Cost
The average cost to remove window tint is between $100 and $200 for a four-door sedan or approximately $25 to $50 per window.
These are just rough estimates, and the actual price can vary based on specific factors. It’s a good idea to shop around and get quotes from different service providers to find the best option for your needs.
When discussing tint removal costs, several factors can affect the price, such as vehicle size, tint type, and labor.
Table breaking down the exact cost ranges for tint removal based on vehicle type, tint type, and other factors:
| Factor | Cost Range | Details |
|---|---|---|
| Small Car (Sedan) | $50 – $150 | Lower range for standard tint, higher for ceramic or damaged tint. |
| Medium Car (SUV) | $100 – $200 | Removal costs are higher due to the larger surface area. |
| Large Vehicle (Truck) | $150 – $250 | Trucks and larger vehicles take more time and effort to remove tint. |
| Standard Film Tint | $50 – $150 | Easier and quicker to remove, often requiring less labor. |
| Ceramic Tint | $150 – $250 | More labor-intensive due to the stronger adhesive and material. |
| Old/Damaged Tint | +$50 (additional) | Removal of peeling or bubbled tint can add extra costs due to difficulty. |
| DIY Tint Removal Kit | $10 – $30 (kit cost) | Cost for purchasing a kit, but requires time and effort. |
| New Tint Installation | $150 – $500 (extra) | Cost for reapplying new tint after removal. Higher end for ceramic tint. |
Additional Costs:
Tint Application After Removal:
If you plan to reapply a new tint after removal, consider the additional cost of tint installation, which can range from $150 to $500 depending on the quality of the new tint.
Time Required for Removal:
Professional tint removal usually takes about 1-3 hours, depending on the vehicle’s size and the condition of the tint.


