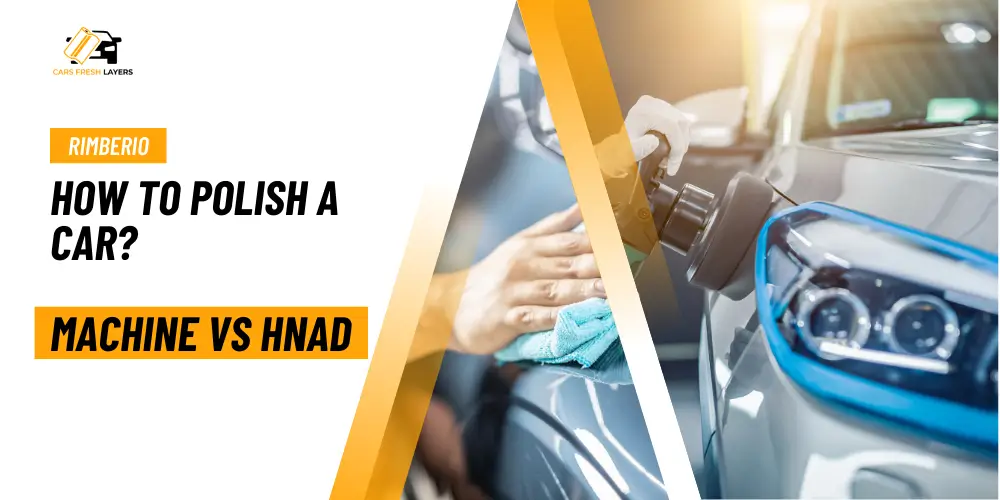
The Car shines fresh off the showroom floor, requiring more than a simple quick wash. Polishing is the way you can do it. Polish your car is a great method to protect your car’s paint and keep it in top condition. I know every scratch, every swirl mark tells a story of missed maintenance. Your car’s paint isn’t just color it’s your vehicle’s first impression and its barrier against environmental wear.
But we get it. Most car owners fear one thing: ruining their car’s finish while trying to improve and polish it or wasting money on the wrong products. Maybe you’ve tried before and didn’t get the results you wanted. Polishing seems complicated. Professional services cost a fortune. DIY attempts feel like a potential mistake.
But what if you could polish your car and get a shiny look without wasting resources or risking damage? What if professional-level results were just a few smart techniques away?
Don’t stress. This guide isn’t just another tutorial. It’s your roadmap to changing your car’s appearance. Protecting its value, and saving money. We’ll show you how to polish your car safely, step by step. No guesswork, no expensive mistakes just professional-level results you can achieve at home.
Table of Contents
ToggleImportant Tips Before Polishing Your Car
Before polishing your car, it’s necessary to follow several important tips to confirm the best results. It protects your vehicle’s finish.
Here are key steps to consider:
- Check paint for deep scratches
- Polish if needed because polishing is an abrasive process
- Work in a Shaded Area
- Choose the Right Products
- Use Proper Tools
- Safety Precautions
- Avoid Over-Polishing
Pro Tip
- Investment in quality products pays off
- Regular maintenance prevents extensive damage
- Always read the instructions on the polish and tools you’re using
How to Polish Your Car: Step By Step Guide
Polishing restores your car’s paint by removing stains and defects. It smooths out the surface and brings back its shine. Proper polishing removes swirls, and minor scratches, and prevents paint oxidation. It also brightens faded paint, giving your car a fresh, vibrant look.
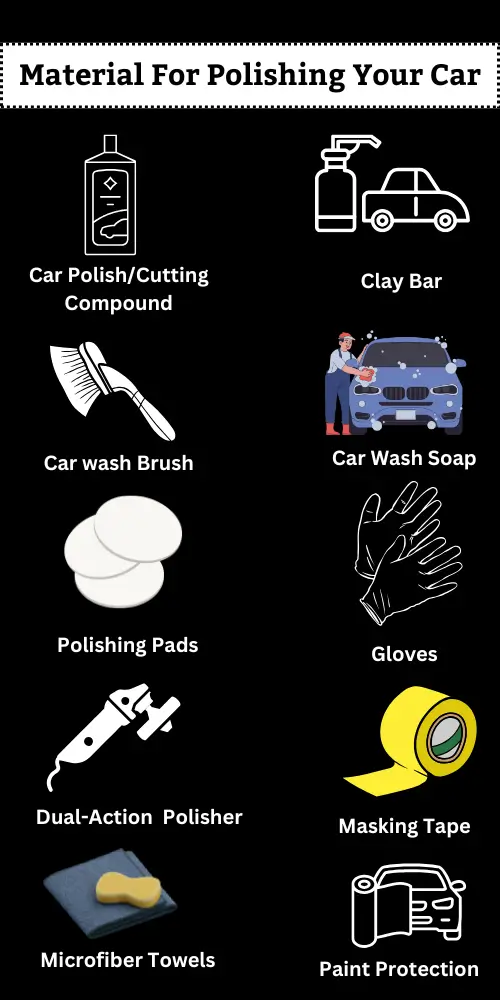
Material For Polishing Your Car
Having the right materials for polishing your car assures that the job is done effectively and safely, leaving your car with a smooth, glossy finish.
Here’s a list of essential materials you’ll need
- Car Polish/Cutting Compound
- Car wash Brush and Polishing Pads
- Dual-Action (DA) Polisher
- Microfiber Towels
- Clay Bar
- Car Wash Soap
- Gloves
- Masking Tape
- Paint Protection (Wax, Sealant, or Ceramic Coating)
A DA polisher is an electric tool that helps apply the polish or compound. It makes the process faster and more consistent but sometimes it damages the paint.
You can also use hand pads but it is a time-consuming process. With these materials, you can achieve a showroom-worthy finish on your car!
Here’s the best way to polish your car with pictures:
Prepare For Polishing Your Car
Before polishing your car’s first step you need to park your car in a shaded spot on a solid surface, like a driveway or garage.
Next, clear away anything nearby that doesn’t need polishing, like garden tools or chairs, and cover anything you can’t move. This saves you time later by preventing the need to clean extra spots that might get polish on them.
Wash Car & Prep Surface:
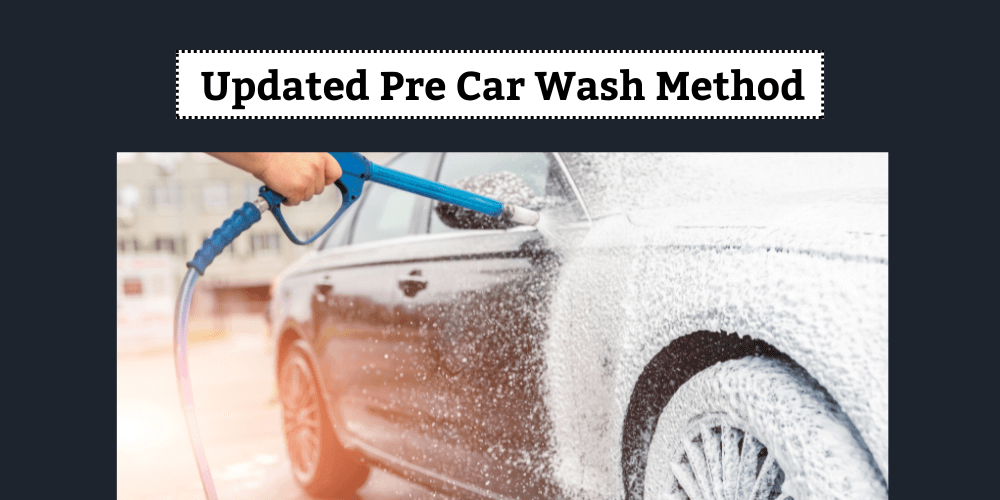
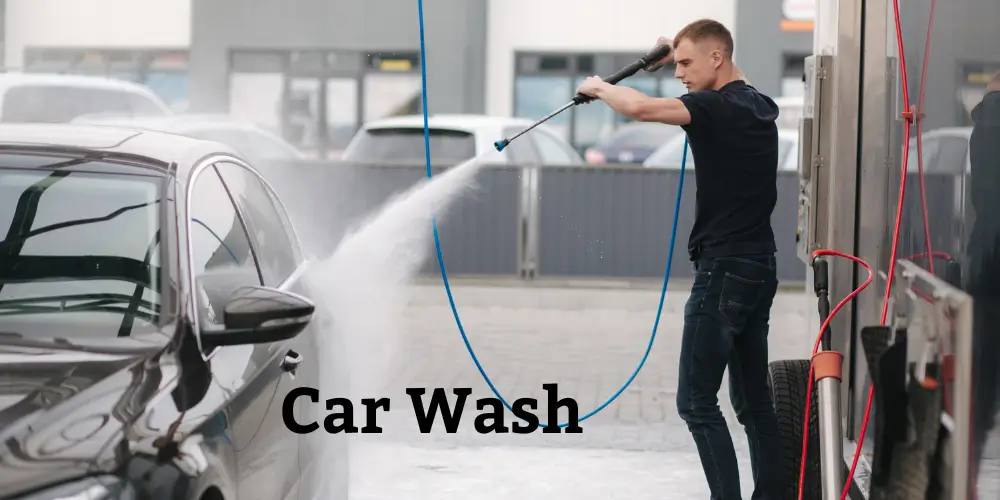
Before you begin polishing your car, cleaning and prepping the surface properly is important. This includes car washing and drying the vehicle thoroughly.
Use Clay Bar
Use a clay bar to remove implanted pollutants that might affect the polishing process. Spray a lubricant on the surface and gently glide the clay bar over it.
This step is crucial for achieving a smooth finish. Once your car’s surface is clean and free of debris, you can move on to the actual car polishing.
Choose Right Polish & Apply:
Use a car polish that suits your car’s needs. If you’re fixing scratches or restoring shine, get a scratch remover polish. If it’s just for shine, use a basic polish.
Start by applying a small amount of polish onto a foam pad for polishing or a microfiber pad attached to your polisher. It is important to use the correct type of pad for your specific paint and the desired level of correction.
Polish in Small Sections:
When using a dual-action polisher, it is recommended to work in small sections at a time. Like a door or a panel, typically no larger than 2 feet by 2 feet.
Use circular motions with steady pressure to spread the polish evenly. This will ensure to focus on one area at a time. Continue for about 1-2 minutes until the polish begins to haze.
Use Overlapping Motions:
Apply gentle pressure and move the polisher back and forth in overlapping motions until the polish starts to haze.
Wipe Off Excess Products & Buff:
Once the polish has hazed over, use a clean microfiber towel or cloth to remove the excess product. Buff in straight lines to reveal a smooth, shiny surface.
You should see an immediate improvement in the shine and clarity of your car’s paint.
Repeat If Necessary
If needed, you can repeat the process on any remaining areas that need more attention.
Final Touches
Once you’ve polished all sections, give your car a final wipe-down with a clean microfiber cloth to ensure no residue remains.
Seal in the Shine:
Optional: After polishing, apply a wax or sealant to protect the paint and maintain the shine. This will help maintain the results of your hard work and provide long-lasting protection against environmental elements.
Pro Tips
- Rinse the polishing pad often to keep it clean.
- Be careful near edges and trim to avoid paint damage.
- Hand polishing is safer but takes more effort and time.
Hand Car Polish
Polishing a car by hand involves a manual process of improving the vehicle’s paintwork to improve. Hand polishing refers to the technique of applying polishing compounds or products.
This process is straightforward and generally involves an apply and wipe-off method, where the polish is worked into the paint using cloths or applicators. Hand polishing is the way you can polish your car without a machine.
Advantages of Hand Polishing
-
- It can help get rid of small scratches and marks on the paint
-
- Regular hand polishing helps protect your car’s paint from sun damage, dirt, and other harmful things
-
- Polishing brings back the shine and brightens up dull or faded colors
-
- You have more control over where you apply the polish
-
- It is usually cheaper than using a machine because you don’t need to buy expensive tools
-
- Hand polishing avoids heat, protecting the clear coat
- Many people find hand polishing relaxing and fun. It’s a great way to spend time with your car
Disadvantages of Hand Polishing
-
- It is a more time-consuming process than machine polishing
-
- The process requires considerable physical effort, which can lead to fatigue and discomfort
-
- Hand polishing is generally less effective at removing deep scratches, swirl marks, or heavy oxidation
-
- Hand polish gives uniform results but can be challenging with It
-
- A high-quality finish requires multiple polishes, raising cost and complexity
- Polishing big areas by hand is hard and takes more time
How to Polish Your Car By Hand?
Hand polishing can effectively restore a high gloss finish and remove minor imperfections such as light scratches and swirl marks.
Although it may not be as effective on heavily damaged paint compared to machine polishing. With the help of hand polishing you can polish a car at home without any cost and effectively.
To effectively polish a car by hand, you need to follow these steps preparation, Application, Buffing, and finishing touches.
Machine Polishing
Machine polishing is used primarily in automotive detailing to enhance the appearance of a vehicle’s paintwork.
This technique uses mechanical polishers, such as orbital or rotary machines, to apply polishing compounds that remove imperfections and restore shine.
Advantages of Machine Polishing
The machine car polishing process offers several important advantages over hand polishing. This makes it a preferred choice for automotive detailing.
-
- Machine polishing is considerably faster than hand polishing
-
- Machine polishers ensure even pressure for a uniform, swirl-free finish
-
- Machine polishers remove deep scratches and tough paint defects
-
- Machines reduce effort, making large projects easier
-
- Machines use different pads and compounds for tasks from heavy correction to fine-finishing
- Machine polishing gives a showroom-quality finish that’s hard to match with hand polishing
Disadvantages of Machine Polishing
Machine polishing, while effective for the appearance of a vehicle’s paint, comes with several notable disadvantages that can lead to damage if not executed properly.
Here are the key drawbacks
-
- Machine polishing can damage paint, causing swirl marks, buffer trails, or burn marks if used improperly
-
- Machine polishing requires skill and experience; beginners may struggle with uneven finishes and potential damage
-
- Machine polishing is faster than hand polishing but still time-consuming, especially for beginners, due to prep and pad cleaning
-
- High-quality polishers and pads cost $5 – $30, and compounds can represent an upfront cost ranging from $13.99 – $36.49.
- Using the wrong chemicals can damage the paint, causing discoloration or degradation
How to Polish a Car With a Machine?
Polishing a car with a machine can significantly enhance its look by removing imperfections and providing a glossy finish.
Here’s a Correct steps to effectively polish your vehicle using a machine.
Preparation
Thoroughly wash your car to remove dirt and debris. Use a high-quality car shampoo and a microfiber wash mitt to avoid scratching the paint.
Check for scratches, swirl marks, or other imperfections.
Tools Needed
Car Polishing Machine
Choose between a rotary or dual-action polisher.
Polishing Pads
Select appropriate pads based on the polish type (cutting, polishing, or finishing).
Car Polish
Use a suitable polish that matches your paint condition.
Polishing Steps
Apply Polish:
Put a little polish (about four pea-sized blobs) on the pad. Dab it on the area you’ll work on before turning the machine on to avoid splatter.
Set Up the Machine:
Turn on the polisher at a low speed (1-2) to spread the polish evenly over the area. This helps prevent any damage from excessive friction.
Start Polishing:
Increase the speed (3-6 depending on your machine and polish) and work in small sections (2×2 feet).
Use slow, overlapping circular motions or crosshatch patterns, applying light pressure just the weight of your hand.
Remove Residue:
Continue polishing until you see a hazy finish. After polishing, use a clean microfiber cloth to buff off any remaining residue.
Final Touches:
Check for any spots that may need additional attention.
Waxing:
After polishing, consider applying a wax or sealant for added protection and shine. Apply it using similar techniques as polishing but with a dedicated applicator pad.
There are some unique tips for beginners for a successful polish.
Pro Tips
-
- Always test on an inconspicuous area first to ensure compatibility with your paint
-
- Use minimal product; more does not always equal better results
- Maintain consistent speed and pressure throughout the process to avoid uneven polishing
Machine Vs Hand Car Polish
This table provides a clear overview of the strengths and weaknesses of both hand and machine polishing methods.
| Hand Polishing | Machine Polishing |
|---|---|
| Safer for beginners | Higher risk of damage if misused |
| Greater control over application | Less control, but more uniform results |
| Time-consuming | Faster, covers larger areas quickly |
| Less effective on heavy imperfections | More effective for significant corrections |
| Generally lower cost | Higher initial investment |
| Easier to learn | Requires practice and skill |
| Can access tight spaces | Limited in tight or intricate areas |
| Variable results | Greater control over the application |
